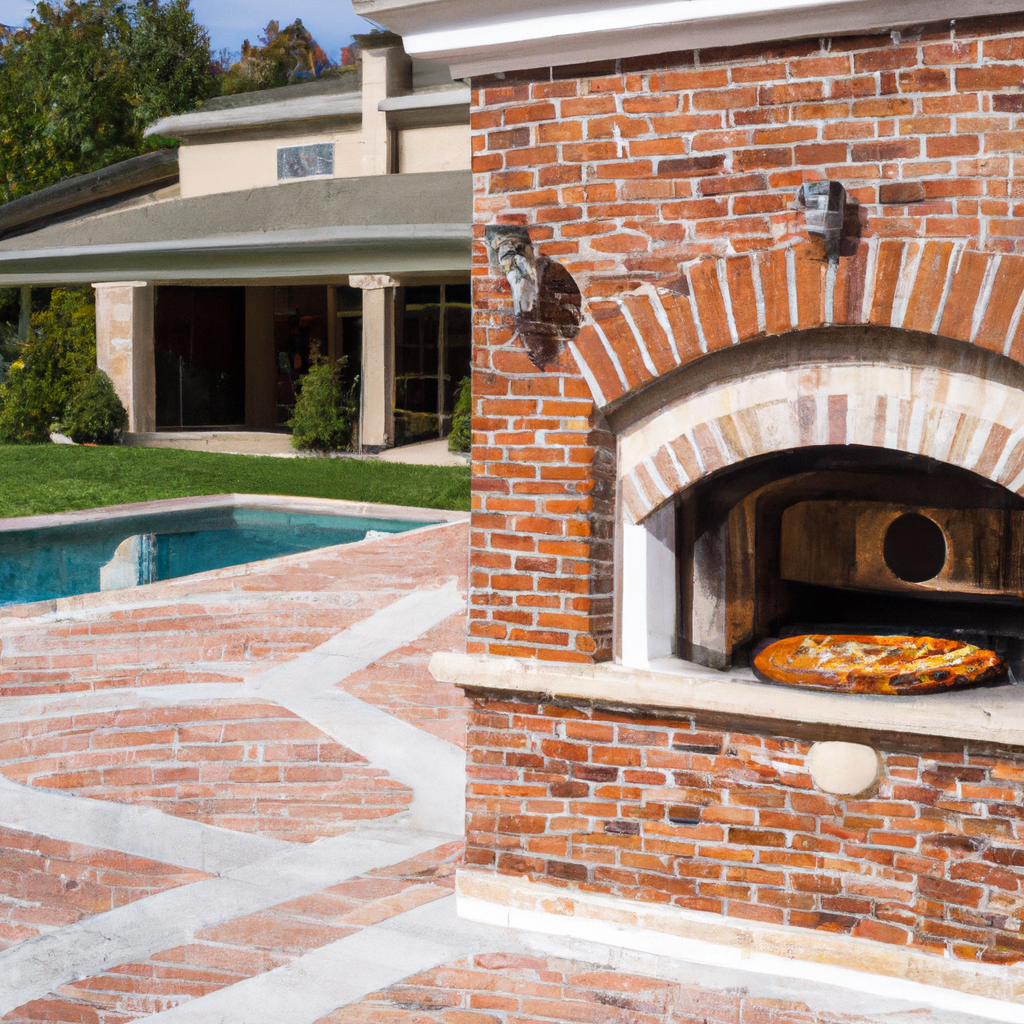
Create a Pizza Paradise: Building Your Own Outdoor Oven
If you love pizza and enjoy spending time outdoors, why not combine the two activities into one delicious experience? Building your own outdoor pizza oven is a great way to bring family and friends together and enjoy some tasty food. With a few simple steps, you can create your own pizza paradise right in your own backyard!
Step 1: Plan Your Oven
The first step in the process of creating your own outdoor pizza oven is to plan it out. Start by thinking about the size and shape you’d like your oven to be. Consider the materials you’d like to use, as well as the location of the oven in your backyard. Sketch out a basic plan, and gather any supplies you may need.
from: Sears Home Services
Step 2: Gather Your Materials
Once you’ve planned out your oven, it’s time to gather the materials you’ll need to construct it. You’ll need bricks or stones for the base, and a fire-resistant material for the dome. You’ll also need mortar and a trowel for assembly. Make sure you have all the materials you need before beginning construction.
Step 3: Assemble the Base
Now it’s time to begin building your outdoor oven. Start by constructing the base. Place the stones or bricks in the desired shape and secure them with mortar. You can use a trowel to help spread the mortar and ensure a solid foundation for your oven.
Step 4: Construct the Dome
Once the base is complete, it’s time to build the oven’s dome. Using the fire-resistant material of your choice, build up the walls of the dome, making sure to leave a hole in the top for the smoke to escape. You can also add a door to the front of the oven if desired.
Step 5: Finishing Touches
Once the dome is complete, it’s time to add some finishing touches. You can use clay or plaster to seal any gaps in the dome, and to give it a smooth, finished look. If desired, you can also paint the oven in a color of your choice.
Step 6: Fire It Up!
Now that your oven is complete, it’s time to fire it up! Begin by adding some kindling and small logs to the bottom of the oven. Light the logs and allow the fire to burn until the oven is hot enough to cook with.
Step 7: Bake Your First Pizza
Once the oven is hot enough, it’s time to bake your first pizza. Place your pizza on a pizza stone or baking sheet and slide it into the oven. Allow the pizza to cook until the crust is golden brown and the cheese is melted.
Step 8: Preparing the Perfect Pie
Before baking your next pizza, it’s important to understand the basics of pizza making. Start by choosing a high-quality dough and topping it with your favorite ingredients. Make sure the oven is at the right temperature and bake the pizza until it’s cooked through and lightly browned.
Step 9: Enjoy the Results
Once your pizza is cooked, it’s time to enjoy the results. Slice the pizza and serve it with a side of salad or another delicious dish. Be sure to savor every bite of your homemade pizza paradise!
Step 10: Share the Fun!
The best part about having your own outdoor pizza oven is that you can share the fun with family and friends. Invite them over to enjoy a pizza party and show off your new oven. With a little bit of effort and some delicious pizza, you can create a truly memorable experience!
In Summary
Creating your own outdoor pizza oven is a great way to bring family and friends together to enjoy some delicious food. With a few simple steps, you can have your own pizza paradise right in your own backyard. All that’s left is to fire up the oven and start baking!


